Wednesday, May 18, 2011

Slingshot

Here is my latest project. While on a fishing trip recently the wind started howling. The side of the lake I was on was downwind so of course I was facing into this gusting gale. It was so bad that the waves were white-capping. Now this is a lake mind you, not a river, so the fact that there were waves to begin with should tell you how strong the winds were. Anyway, this makes for lousy casts so I put my rod and reel down and just sat for a few minutes then I thought I would see if I could make something useful while waiting on the wind to die down. I am a big fan of the Backwoodsman magazine and there have been three articles about slingshots published within the last year. So, I thought I would see if I could find a suitable piece of wood with which to make one. As luck would have it, I did. Honestly I don't think it could have been a much better specimen to use. So, the photos you see are of the "Y" shaped handle after I removed it from the small tree and then a detail shot of the notches I cut for the bands. There is also a photo of the materials I used. The yellow bands I purchased at the store for about 1500 WON which is about $1.50 US. The pouch I attempted to make out of an old leather belt I have but found that the thin covering on the belt was stronger and more suitable. I shaved all of the bark off with the blade of the multi-tool I had with me. I then shaved slivers all around the stick until it was thin enough to break off. That is how I cut it down to the size I wanted. I used the same technique on both forks as well as the handle. It took about two hours all together to whittle it down. I used braided fishing line to lash the bands to the forks and used the technique from the Backwoodsman article to do so. Finally, there is a photo of the completed project. I took this thing out last night and tried it out against an old yogurt cup. Sadly my aim is way off so the yogurt cup survived. Luckily, I still have my head because I almost took it of with a ricochet! To use only a single thin band this thing packs a wallop! I am pleased and will definitely be making another. One final note, if you haven't checked out the Backwoodsman magazine, you should definitely get a copy it is well worth it for outdoors enthusiasts, farmers, personnel into "green living" and others. As always, Thanks for Stopping By!

Thursday, March 3, 2011

More Wooden Lures

Hi,
It has been quite a while since I posted so here is a new one. A while back I posted a couple of photos of fishing lures that I had made. I am pleased to report that the C&E Gold attracted a couple of fish but unfortunately no takers. They just chased it. The C&E Doplhins haven't been field tested yet so I have no data on them. The little gems in the photo however, have been field tested and have again attracted fish. I could watch them chase them. These two lures are for one purpose and one purpose only..to catch Gar! I call them my "C&E Snagglers." They are really quite simple and have no hooks whatsoever because a gar has tons of teeth that the fibers can wrap around and he can't get away. I found the idea online somewhere and, being that this is woodworking blog, I thought I would try my hand at making something similar to what I saw online. The concept is simple, make a wooden jig head, drill and thread it with wire so you can attach it to a line, cut a length of nylon trot-line cord, double it over, fray it out until it is all fuzzy, then using the wire, wire it to the jig head. Cast, reel, repeat. The heads are made of balsa wood which floats so it makes a nice top-water jig. The tails on these two were fascinating because when you reel it then top, reel it, then stop, the tails sort of "swim" like a frog in a smooth motion. Again, I did have garfish chase it, but being a lousy angler, my presentation of the lure must have been bad because he would chase it but not bite. Maybe one day I can post a photo of the one that "didn't get away" LOL. Thanks for Stopping By!

Tuesday, June 1, 2010

A Belated Entry

This entry is a tad bit late. Well...actually it is about nine months late. Anyway, the box you see is the last thing I finished before moving to South Korea. This one was for my mom for Christmas. The filigree was a pain in the rear end to cut out. Stuff like this is nerve racking. One little slip and its all for naught and you have to start all over. Luckily, I didn't mess it up. Anyway, the hardest part turned out to be getting the bottom board to stay flat. I cut it, sanded it, and then stained it. Once complete, I let it dry in the shop for a day or so. When I came back, it had bowed on me and I had to weight it down in order to make it flat again. It was also a learning point when trying to glue it up. I found it is very difficult to glue things once they are already stained, especially with a glossy/semi-gloss stain. The photos show it before I finished staining it. When I was done, the whole thing was stained. Looking back at it, I sort of like it the way it is in the pics. Still, I think it turned out nicely. If I ever do another of the same box, I think I will change the color of the stain or leave it natural. It will be a while before I get back to the US and get my wood working shop back together so this may be the last entry for a while. I may find some other craft to do in the mean time...we will see. "Thanks for Stopping By!"

Sunday, August 23, 2009

Latest Piece

Hi,
This is my latest piece. This one is of the classic "Praying Hands." We will be giving it to my wife's Grandfather. There are certain aspects of it that I am still not satisfied with but I can deal with it for now. Most of the issues I have with it are in the staining and finishing area. I just need to learn to take my time and use the proper materials. I keep getting a lot of lint and fuzz on everything. I am also going to start posting some of the things my wife crochets so maybe ladies will enjoy the blog as well. As always, "Thanks for Stopping By!"

Thursday, July 9, 2009

First Attempt at a Bowl

Hi,
This is my first attempt at a bowl. A friend of mine from church brought me a large cedar log and I kept it for about eight months before I finally got up the nerve to ask him if I could borrow his chainsaw. I tried to cut several disks with the intent to cut crosses out of them but as I found out, I can't cut very straight so disks came out as wedges. Also trying to cut shapes out of the circular grain that comes from cutting disks instead of the straight grain that comes from cutting planks is somewhat useless. It is pretty ugly and I shouln't show it but I am satisfied with it for my first attempt. The gaps in the rim is the result of my router getting away from me (also the first time I have ever used my router) and the holes in the bottom are the result of me using an 1-5/8" spade bit. I tried my forstner bits but I don't have a drill press and using a hand held drill was sort of slow going. Another option would be to use a plug-cutter bit and "eyeball" your depth. Point of safety, spade bits will nearly break your wrist if you get them a little off center while boring a hole. They will grab wood on the "side wall" of the hole and wrench the drill nearly out of your hand so BE CAREFULL! Also, some of you may laugh but I find some pretty good deals at the Goodwill store sometimes. Look for how-to woodworking, gardening, and home repair books. They also have how-to books for all kinds of needlepoint for your wives. Macrame, knitting, cross-stitch, etc...they usually have at least one or two books. They often have decent tools as well. I passed up on an old JC Penney drill press the other day. It would have worked but it was $30 dollars and JC Penney doesn't sell tools anymore. Anyway, I hope you can find something here that interests you and as always "Thanks for Stopping By!"

Thursday, June 18, 2009

First Box

Here is the first box I have ever made. It is a bit rough I guess but I am satisfied with it.
Anyway, this is a pattern I got from another blog I subscribed to called "Scrollsaw Workshop."
Thanks to Steve for the pattern and I look forward to making more of his patterns. I plan on giving this one to my wife's other grandmother. It has holes in the lid because it is a
potpouri box. As always "Thanks for Stopping By!"
Matt

Friday, May 8, 2009

New Cross

Hi,
This one is my design. There are probably others out there just like it but I put this on on graphing paper myself. It was more of a challenge than I thought it would be to stain. I found out that stain "bleeds" from where you want it to where you don't want it, even with masking tape. Oh well! This one is for a friend of mine who preached the revival at our church last week. Now if he ever gets his computer fixed so I can get his address, I will send it to him. Thanks for Stopping By!
Matt

Tuesday, April 28, 2009

My latest Project

Hi,
Attached is a photo of my latest project. It is a drop down basket tea pot. I don't know if that is what it is really called but it sort of explains the concept. Anyway, this one will go to my wife's grandmother for Christmas. It's great to have relatives to practice on! LOL. "Thanks for Stopping By!"
Matt

Saturday, April 25, 2009

Charlie's Crosses

You know, I have mentioned my friend Charlie a couple of times. He is the one that got me into this hobby. What I haven't mentioned is that he is in his early 80s. I only wish I had as steady a hand as he has at the scroll saw and I am only 30 years old! Here are a couple of pictures of his work. Honestly, pictures just never do his work justice. You sort of need to see it in person to really appreciate it. The picture of the one cross by itself is what sparked my interest. It is called an "August Cross."  I will have to get with Charlie and find out why it is called an August Cross. He told me once but I can't find the webpage that explained it. Anyway, hope you enjoy these, he is great at it. "Thanks for Stopping By!"
Matt
 

My First Crosses

Hi,
The pictures you see here are my first crosses. My friend that got me interested in scrollworking gave me several patterns to try but so far I haven't made anything. This cross is simple and I actually took the design from one I saw at a craft fair a couple of weekends ago. The eagle you see will not be like that when I am finished with it. I will peel the photo off of it and woodburn all the feathers onto it. Well, at least that is my plan. I may decide to stain it or something. Anyway, this is my first cross and now I plan on making more. As always "Thanks for stopping by!"
Matt
Addendum: I finished one cross. I decided to cut the eagle feathers instead of staining it or woodburning it. Woodburning didn't work anyway.
Matt

Friday, April 10, 2009

Fishing Lures

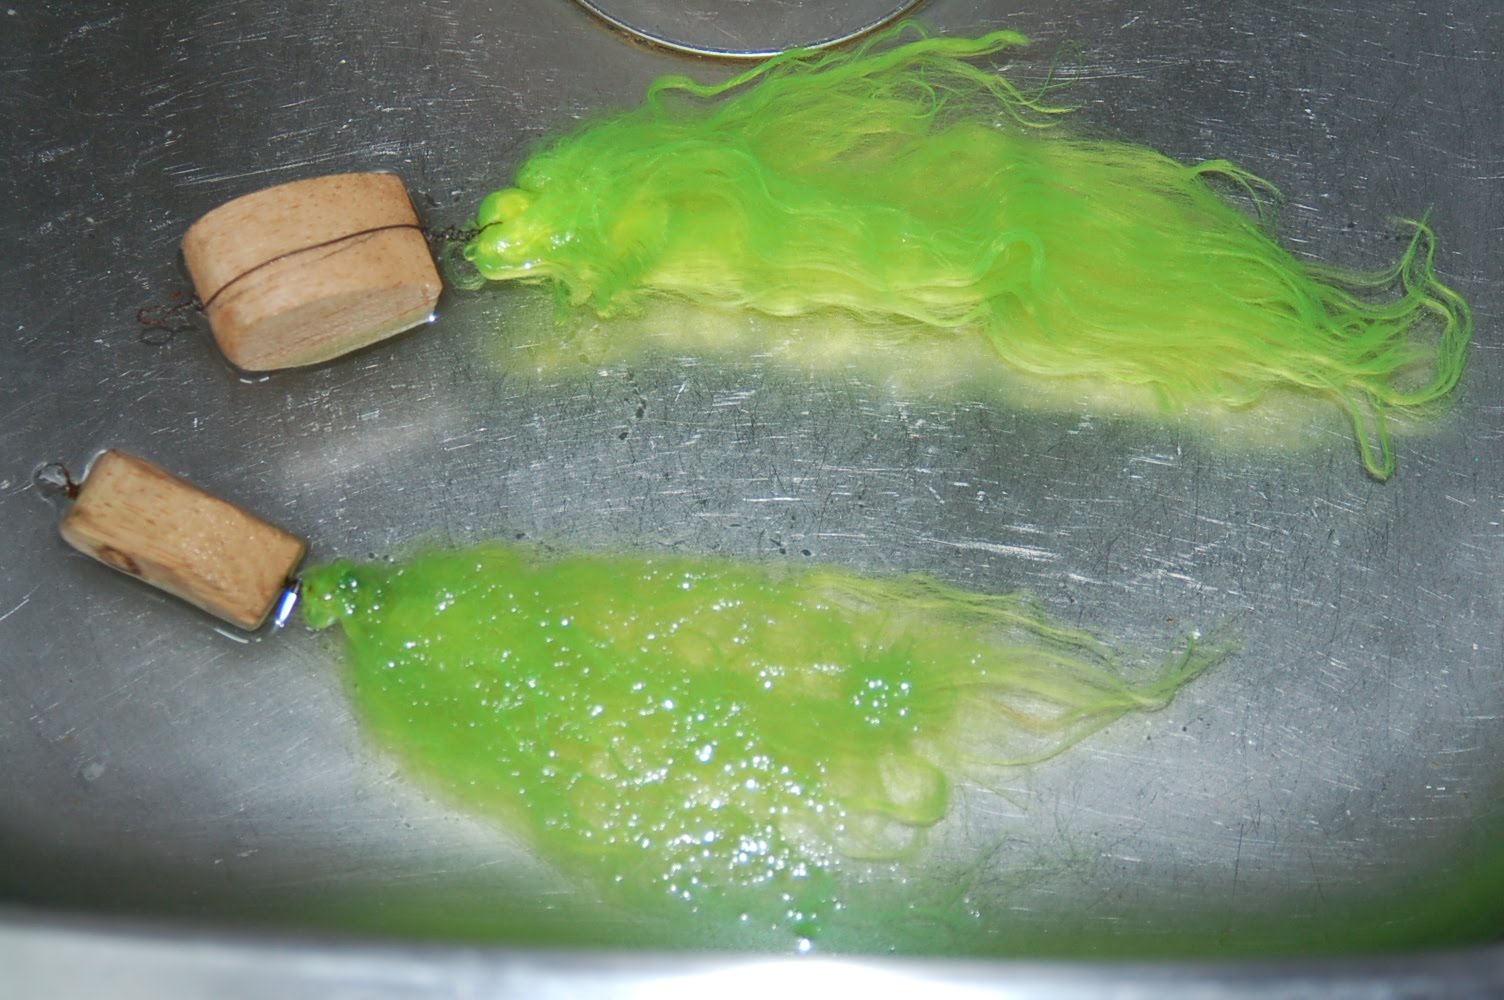
Hi there! It has been too long since I have updated this bolg. Anyway, I have a new interest in woodworking. After watching a show called "Hunt for Big Fish" on the "Vs" channel, I was inspired by the host Mr. Larry Dahlberg to create my own lures. Now I have to throw out the disclaimer that no one at that station or with that program has given me permission to use them on this blog but I am not selling anything and have not taken any original ideas from anyone so I believe we are ok to proceede. I am a big fan of the show and have learned a lot from watching the techniques used to fish certain lures. I am also a BIG fan of making my own and since I like wookdworking I chose to make my new lures out of balsa wood. I will attach a couple of pics of the only two I have created so far and you can chime in with your thoughts as you see fit. The first one you will see is my C&E "Glitter Gold" lure and the second and third ones are my C&E "Dolphin Poppers." You will see why they are names as such as it should be obvious just looking at them. The C&E by the way are the first letters in my little girl's names..i.e..Carrie and Emily. The C&E Gold is finished but has yet to be field tested and the C&E Dolphins need a little work yet. Anyway, thank you for taking the time to browse my simple blog. Take Care and as always "Thanks for Stopping By."
Matt

Tuesday, August 26, 2008

First Major Project Completed

Hi,
As you can see in the pics I have finished my first major project. This is a copy of my unit's insignia the 2-1 ADA(P) Battalion [that's 2nd of the-1st Air Defense Artillery (Patriot Missile) Battalion. Anyway, the technique I used for this is to apply the masking tape and then the spray adhesive, followed by the pattern. It came out pretty well I think and it is encouraging me to look forward to the next project whatever that may be. I gave this to my boss as a farewell gift. It was fun (yet nerve racking) to do and it beats the run of the mill plaques that everyone gets. It is personalized on the back so I will refrain from posting a photo of it. Tell me what you think and any tips or ideas are always welcome.
"Thanks for stopping by."
MJC

Saturday, August 23, 2008

Just an Update

Hi again, Sorry, I haven't posted anything in a while. I've been a bit busy. Anyway, I am working on a project for a friend and I have run into a bit of a snag. If anyone has any ideas as to how to overcome this problem please feel free to pony up with the information. Anway, I am cutting a plaque out of 1/2 inch stock and I have broken about five blades already. What I guess I am having trouble with is following the blade. Also for this thick of stock, how fast or slow should my speed setting be? Well, that is all for now, a bit boring I know but until I get this project completed I don't really have anything to post pics of. Any ideas on the problem send 'em my way. "Thanks for Stopping By" MJC

Monday, August 18, 2008

My First Scrollwork Piece

This is the very first item I have ever scrolled and my wife painted it. The edges of the ribbon were not originally designed as you see. Instead, they were supposed to have a "V" notch in them. However, being new to this scrolling business, I underestimated the speed with which the saw cuts and consequently cut off part of one of the "V"s and had to change the whole pattern. It still worked out nicely though and I have since moved on to a more ambitious project. More on that later.
"Thanks for stopping by!"
MJC

Helpfull Tip from a Friend

I am remiss for not putting this up as my first post so I will do it now. I got my interest in woodworking from my dad and from Vocational Agriculture (VoAg) in high school. I got my interest in scroll work from a good friend in El Paso, Texas. Charlie is a good man and does a LOT of scroll work. When I say a LOT...I mean a LOT! Some of the crosses he has made are amazing. To my knowledge, he doesn't create any of his own patters but he has taken artistic licence with some and they are pretty neat. Anyway, he gave me a tip on applying patterns to wood...well...actually tips on both applying and removing. The removing part became an issue for me when I cut out a test pattern the other day. After using the spray adhesive to attach the pattern, I couldn't get it all off once I was through cutting it out. Charlie recommended paint or laquer thinner. The technique is to dampen a rag in it and rub it on the leftover pattern. It peels right off! I also saw a tecnique using wide strips of masking tape, spraying adheasive, then simply peeling the tape and pattern off once complete. Charlie's method is used best when cutting large patterns, the masking tape method is good for smaller ones. On my current project I am using tape. I will post pics and let you know how it turns out. "Thanks for stopping by." MJC

Woodcraft Search